















How to Join CPVC Pipes with Solvent Cement: Step-by-Step

Every CPVC plumbing system, whether it runs through a small bathroom or a multi-storey hospital, depends on one thing: the strength of its joints. Unlike metal pipes that need threading or heat, CPVC pipes are joined with solvent cement, a process that needs no flame, no electricity and no heavy equipment.
Done right, a solvent cement joint becomes one of the strongest points in the entire pipeline. Done wrong, it becomes the first place a leak appears. In this guide, you will learn how to join CPVC pipes correctly, how to apply solvent cement on CPVC pipe and the small details that separate a lasting joint from a weak one.
How Solvent Cement Joining Works
Solvent cement is not a glue that simply sticks two surfaces together. It contains solvents that soften the outer layer of the pipe and the inner wall of the fitting. When the two softened surfaces are pressed together, the material fuses at a molecular level. As the solvents evaporate, the joint hardens into a single, continuous piece of CPVC.
This is why preparation, timing and cement quality matter so much. Any dirt, moisture or delay interrupts the fusion.
What You Need
- CPVC pipes and fittings from the same size system
- Fine-toothed hacksaw or ratchet-type CPVC cutter
- Deburring tool, file or sandpaper
- Solvent cement made specifically for CPVC (and primer, if the cement manufacturer recommends it)
- Applicator or dauber, ideally about half the width of the pipe
- Clean, dry cotton cloth
CPVC Pipe Joining Steps
Step 1: Cut the Pipe Square
Cut the pipe at a clean right angle using a sharp, fine-toothed blade. A square end gives the maximum bonding surface inside the fitting. If the pipe cracks during cutting, cut again at least 5 cm away from the damaged section.
Step 2: Remove Burrs and Bevel the Edge
Clean off all shavings from the inside and outside of the pipe end. Then create a slight bevel on the outer edge with a file or sandpaper. This bevel stops the pipe from wiping the cement off the socket wall and pushing it deep into the fitting.
Step 3: Clean and Check the Fit
Wipe the pipe end and the fitting socket with a dry cloth to remove dust, oil and moisture. Before applying cement, insert the pipe into the fitting. It should enter partway and then feel snug. A pipe that slides all the way in loosely, or will not go in at all, should not be cemented.
Step 4: Apply the Solvent Cement
This is where most joints succeed or fail. Here is how to apply solvent cement on CPVC pipe the right way:
- If primer is recommended for your cement, apply it to both surfaces first.
- Apply a heavy, even coat of cement around the outside of the pipe end, covering the full socket depth.
- Without re-dipping the applicator, apply a thin, even coat inside the fitting socket.
- Check that there are no drips or puddles.
- Use only fresh, free-flowing cement. If it has turned thick or jelly-like, discard it.
Step 5: Assemble Immediately
Push the pipe into the fitting while the cement is still wet, giving it a quarter turn to spread the cement evenly. Make sure the pipe reaches the bottom of the socket.
If there is a delay and the cement has dried before assembly, do not force the joint. Remove the dried layer with sandpaper and apply a fresh coat.
Step 6: Hold and Inspect
Hold the joint firmly for about 5 to 10 seconds so the pipe does not push back out. A uniform bead of cement should appear around the joint. If the bead is missing in places, the coverage may have been incomplete. Wipe away any excess cement.
Step 7: Allow Proper Curing Time
Curing is the stage where the solvents fully evaporate and the joint gains its working strength. Larger pipe sizes, cold weather and high humidity all extend curing time. Always follow the cure-time chart provided by the cement manufacturer before filling the line or pressure testing it.
Weather Tips for a Stronger CPVC Pipe Joining Method
- Hot weather: Cement evaporates quickly in Indian summers. Work in the shade, keep the cement container closed when not in use and assemble each joint without delay.
- Humid or monsoon weather: Moisture slows curing. Keep surfaces completely dry and allow extra curing time before testing.
- Cold weather: Curing slows down considerably. Store pipes and cement at room temperature before use where possible.
Mistakes That Weaken CPVC Joints
- Using PVC or general-purpose cement instead of CPVC cement
- Applying cement on wet or dusty surfaces
- Re-dipping and over-applying cement inside the socket
- Leaving a gap between applying cement and assembling the joint
- Moving or stressing the joint before it has cured
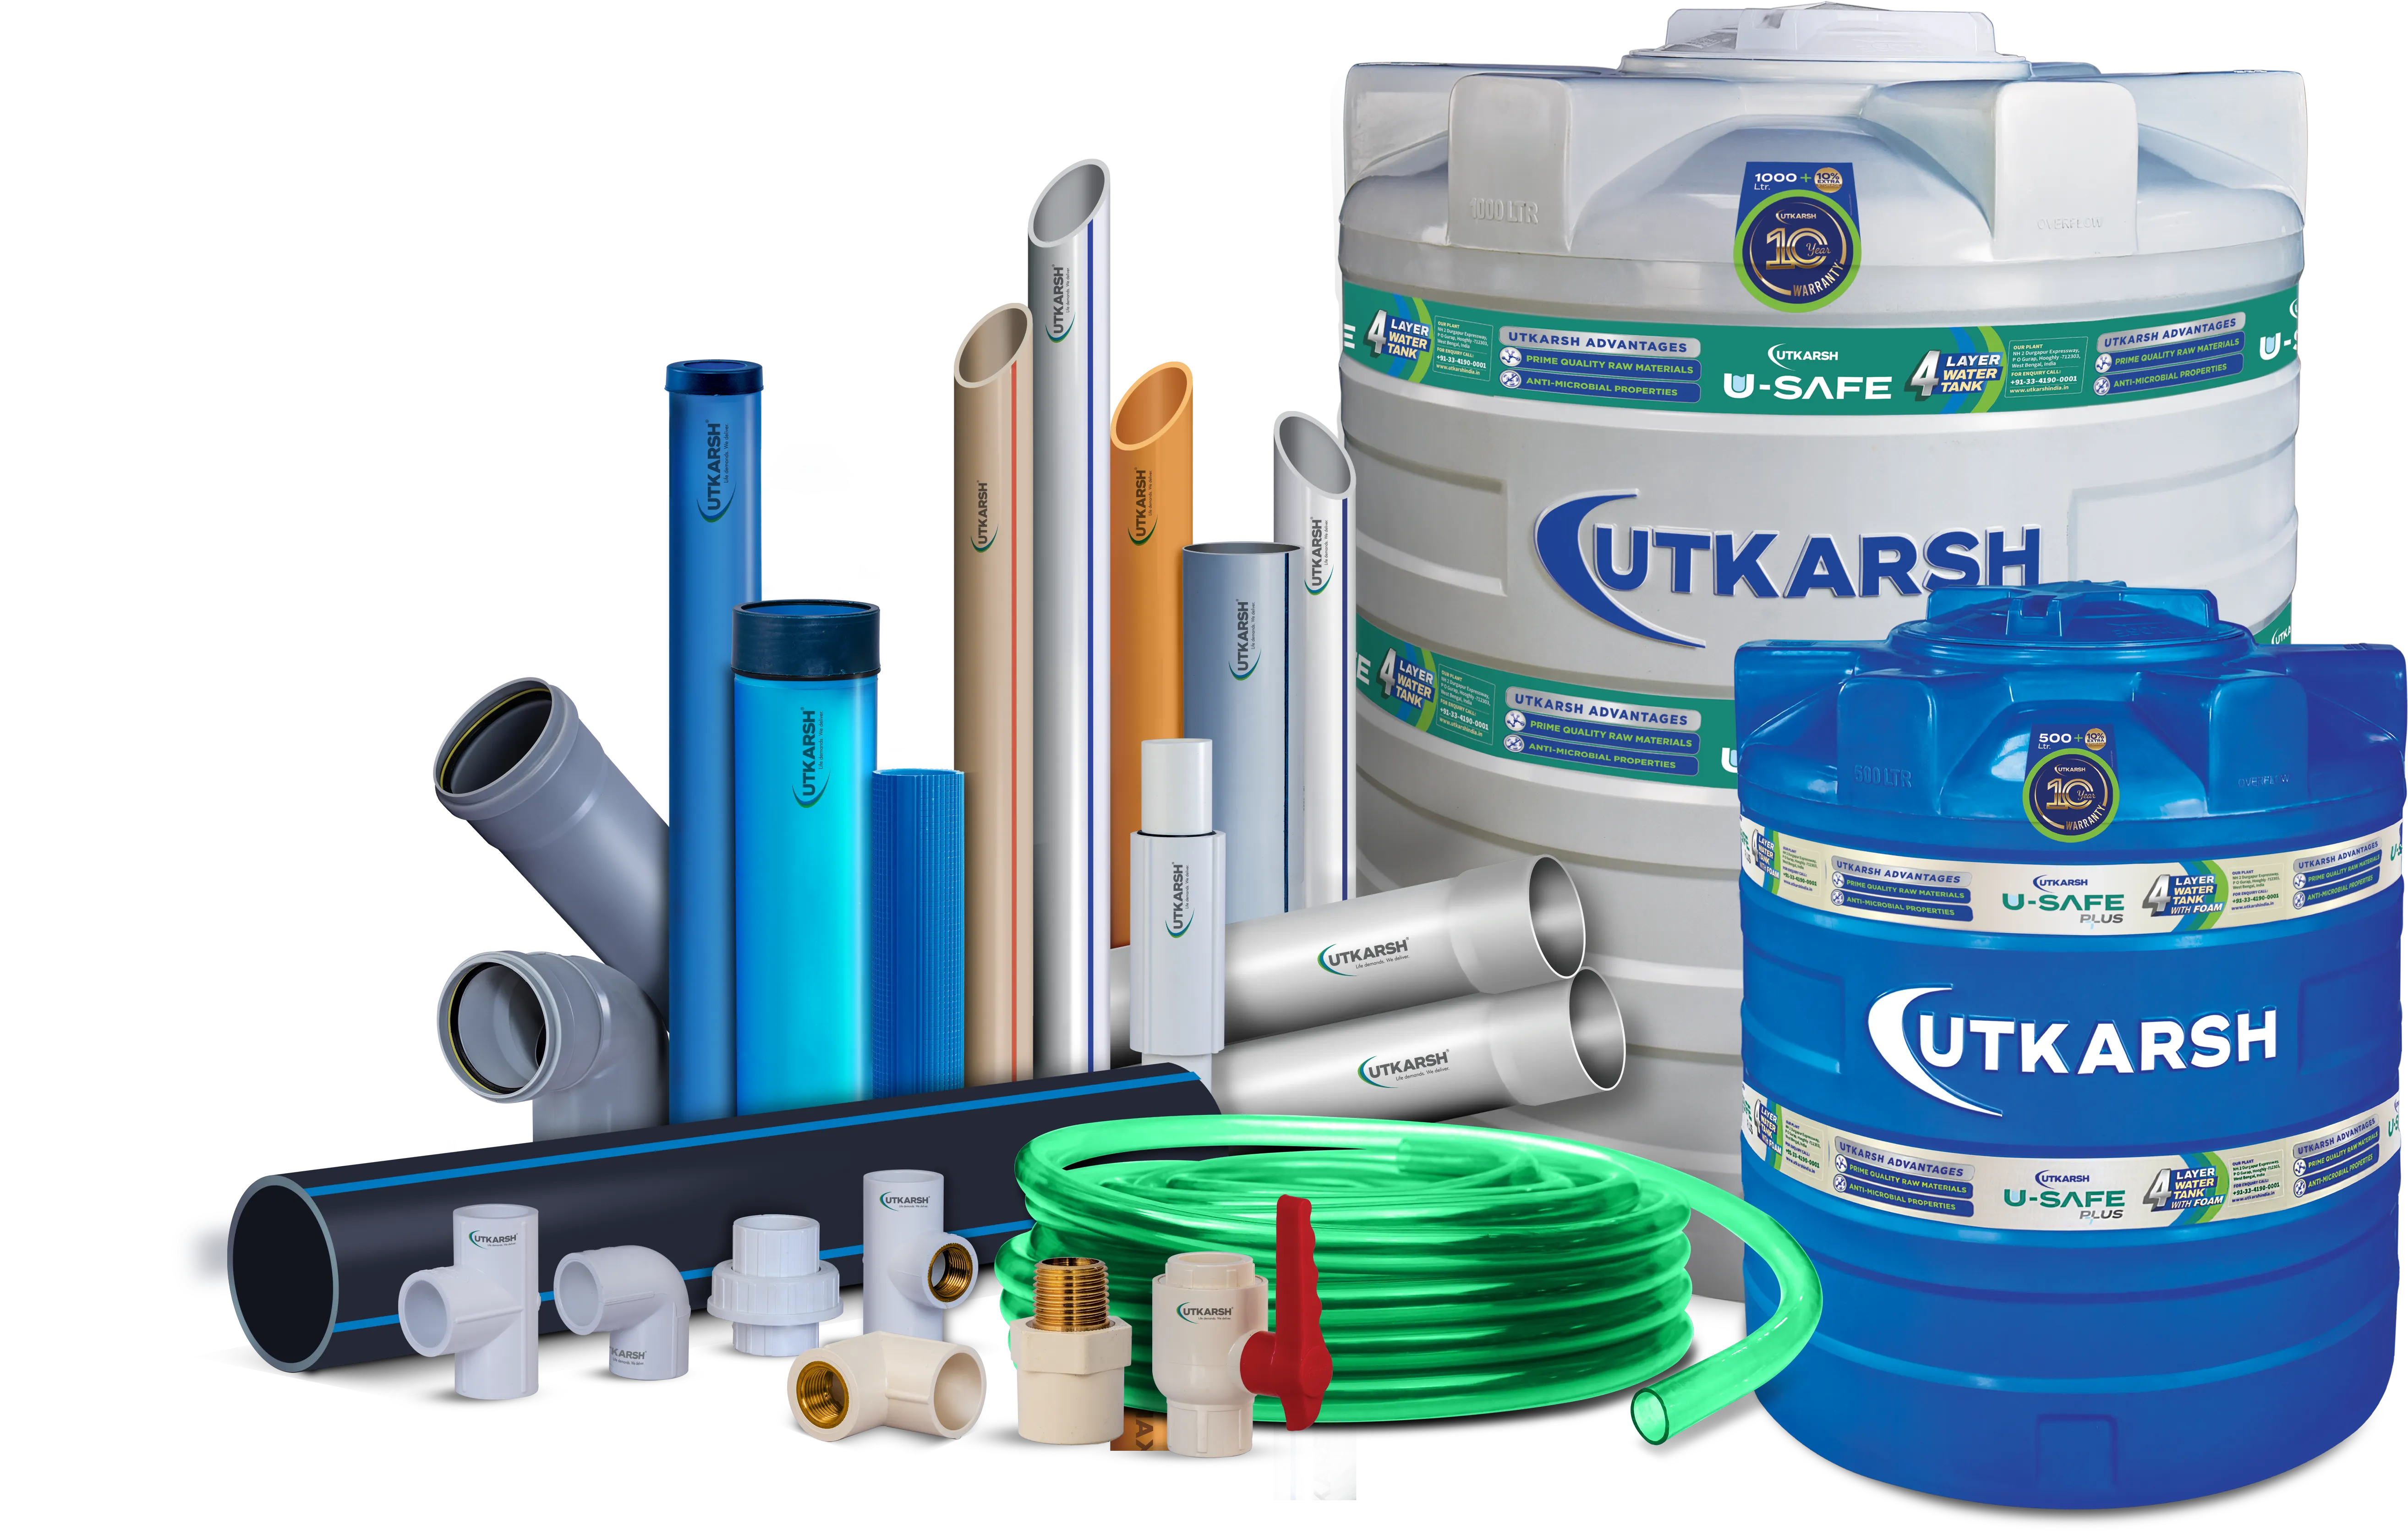
Why Utkarsh CPVC Pipes Make Joining Easier
A perfect solvent cement joint needs pipes and fittings with precise, consistent dimensions. Even a small variation in diameter can leave the joint too loose or too tight. That is why experienced plumbers prefer working with trusted CPVC pipe manufacturers.
Utkarsh Pipes and Fittings has more than 50 years of experience in polymer piping, supplying homes, hotels, hospitals and industrial projects across India. Our CPVC pipes are manufactured to IS 15778 and fittings to ASTM D2846, using premium CPVC resins sourced from Japan and a controlled extrusion and calibration process that keeps every pipe true to size.
Our CPVC pipes are BIS certified under licence CM/L 5100278193, and our 68,000 MT production capacity supports both retail buyers and large infrastructure projects. Every batch passes a 6-stage quality check, and our CPVC pipes carry a 50-year manufacturing guarantee.
Explore our complete range of CPVC pipes and fittings, or contact our team for product and dealer enquiries.
Frequently Asked Questions
How do I join CPVC pipes without leaks?
Cut the pipe square, remove burrs, clean both surfaces, apply CPVC solvent cement evenly, assemble immediately with a quarter turn and allow full curing time before using the line.
Is primer necessary for CPVC solvent cement joints?
It depends on the cement. Some CPVC cements are one-step products that do not need primer, while others recommend it. Always follow the cement manufacturer's instructions.
Can I use PVC solvent cement on CPVC pipes?
No. PVC cement is not formulated for CPVC and can result in weak joints, particularly on hot water lines.
What should I do if a cemented joint leaks?
Cut out the faulty joint and replace it with a new fitting. Adding cement on the outside of a leaking joint will not seal it.